
Saturday crafternoon – felt succulent
So after having some very successful Friday crafternoons the last few months, my friend at work and I decided to step it up and instead of our usual half an hour, we would add nibbles, lots of wine, Studio Ghibli movies and an entire Saturday afternoon. It was glorious and one of the most fun afternoons I have had in a long time. Of course, the main attraction of the afternoon was the craft. We had a plan from earlier in the week to use the copious amounts of felt we have to create felt succulents after seeing a few Pinterest ideas.
So we started the way we usually craft and try to plan it out before making commitments to cutting etc. But we don’t really plan that much, we like being agile and being able to switch things up should we need to. We were so happy with the final product of our succulent. I think it is our greatest one to date. you can see it in all it’s glory above sitting on our second craft for the day which was a paddle pop coaster made beautiful using washi tape. How cute do they look together! Rough instructions are below.
Things you will need:
- A small pot of some sort. We found these cute little metal buckets
- Cotton wool
- Pen
- Felt for the “soil”
- Felt for the succulent leaves (we used a light dusty green and a dark purple)
- Scissors
- Craft Glue
- Needle and thread
- A tailors pin with the round ball on top (we used white ones)
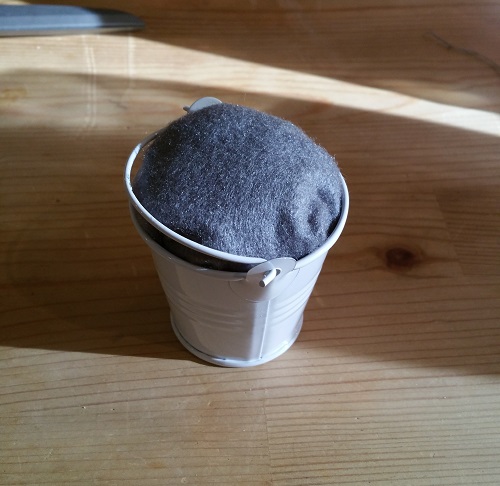
Step 1. Clump together a small handful of cotton wool balls and place in the middle of the felt you wish to use as your soil. Essentially, just trim the felt off you don’t need twist the bottom and fit it snuggly into your little pot. It should end up looking something like the above. No glue is required at this point.

Step 2. Create one succulent leaf by stenciling it in pen and then cutting it out and fixing it till you are happy with the shape. Then trace along the felt to make quite a few leaves as shown the above. Put the second leaf felt layer under the one you have traced on and carefully cut out all the leaves.
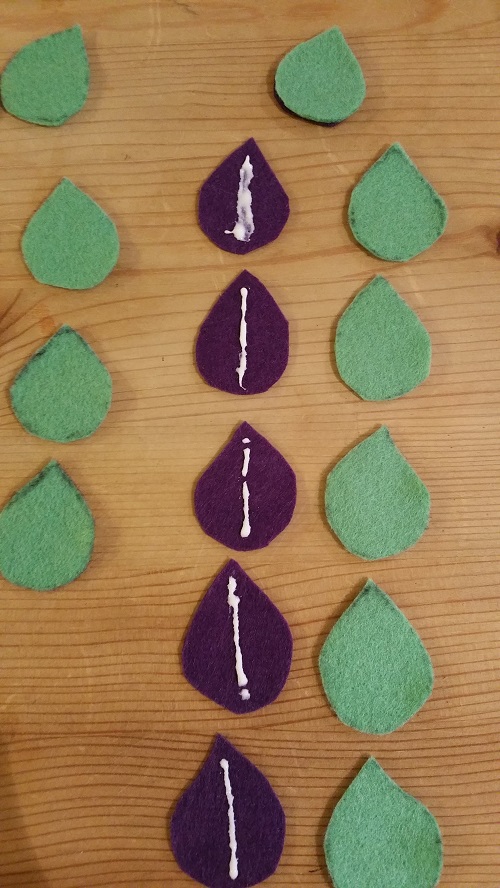
Step 3. put a line of craft glue down the centre of on of your leaf layers and then add the top layer and leave them to dry for a little bit.
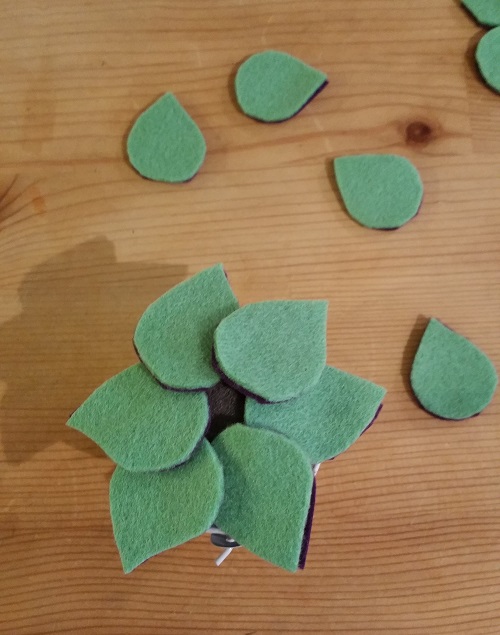
Step 4. Start arranging your leaves loosely on your pot and soil to figure out how many you need for each layer. Once you have figured that out cut down a few of the extra leaves to create slightly smaller ones for the final layer. Once you have where you want the layers to be, sew the leaves together. It doesn’t have to be tight or amazing, Just one stitch for each leaf is enough. You won’t need to sew each of the layers together because we liked that we could maneuver the layers around. However, we did sew the top layer to the soil so that the leaf layers wouldn’t fall off.
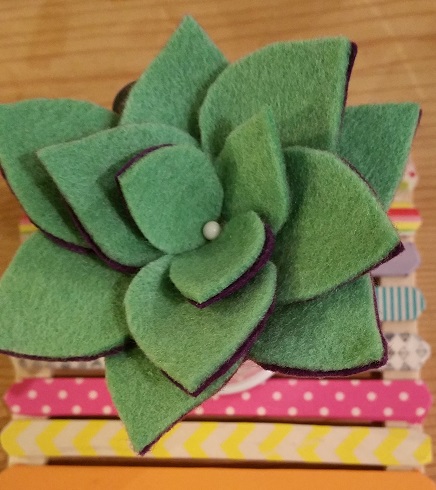
Step 5. Finally, just add in the tailors pin to the middle of all the leaves to help hold it down and give it the final touch.
There you go! One freaking cute little felt succulent that won’t die and gives you the satisfaction every time you look at it that you made something that awesome.
